Full central heating installations happen in three situations: a property that has never had it, a renovation stripped back to bare walls, and an existing system so old and corroded that replacing the pipework is more sensible than nursing it.
Unlike a boiler swap, the appliance is almost the last decision. Everything ahead of it — room-by-room heat loss, radiator sizes, pipe layout, zoning and controls — determines whether the finished system is quiet and efficient or noisy and unbalanced.
The order the work happens in
- 1
Room-by-room heat loss
Every room calculated from its construction, glazing and exposure. This produces the radiator sizes and the total system load.
- 2
Emitter selection
Radiator sizes and types chosen to meet each room's load — ideally at a lower flow temperature, which improves boiler efficiency.
- 3
Pipe layout design
Where the mains run, how branches reach each radiator, and whether the design is two-pipe throughout with sensible index circuit lengths.
- 4
Zoning and control strategy
How many zones, where the thermostats go, whether weather compensation is being used, and how hot water is controlled.
- 5
Boiler and cylinder choice
Selected to suit the calculated load and hot water demand — the consequence of the design, not the starting point.
- 6
First fix pipework
Floors up, pipe run and clipped, notching done correctly, radiator tails positioned, pressure tested before anything is covered.
- 7
Second fix
Radiators hung, valves fitted, boiler installed and connected, controls wired, condensate and flue completed.
- 8
Fill, clean and dose
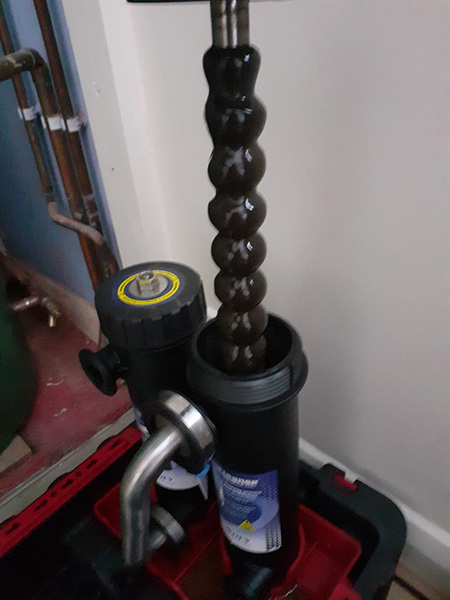
System filled, cleansed, flushed, then dosed with inhibitor and the filter fitted.
- 9
Commission and balance
Boiler commissioned with readings taken, then every radiator balanced so flow is shared properly across the whole system.
Why balancing is not an optional final flourish
Water takes the easiest path. Without balancing, radiators nearest the boiler take more than their share of flow and the far end of the circuit runs lukewarm — the classic "upstairs back bedroom is always cold" complaint that no amount of bleeding will fix.
Balancing sets the lockshield valve on each radiator so every emitter gets the flow its size requires, measured by temperature difference across it. On a new system it should be done at commissioning as a matter of course, and it is the single most common omission we find on installations carried out by others.
Decisions worth getting right at design stage
- Radiator sizing generous enough to run lower flow temperatures — better efficiency now, and heat pump readiness later
- Zoning that reflects how the house is used, rather than one thermostat in a draughty hall
- Whether towel rails are on the heating circuit, and how they behave in summer
- Pipe routes that avoid future floor damage when maintenance is needed
- Provision for a magnetic filter in an accessible position
- Drain points at the low ends of the system so future flushing is straightforward
How long a full installation takes
| Property | Typical duration | What drives it |
|---|---|---|
| Two bed flat | Around 3–4 days | Short pipe runs, few emitters, limited floor access |
| Three bed semi | Around 4–6 days | Two floors of first fix pipework and making good |
| Four bed detached | A week or more | More emitters, zoning, possibly a cylinder installation |
| Renovation project | Phased around other trades | First fix before plastering, second fix after decoration |
Durations are indicative — access, floor construction and whether the property is occupied all change them.
The quality of a heating system is fixed long before anyone turns it on: heat loss calculated properly, radiators sized honestly, pipework laid sensibly, and every emitter balanced at the end. Get that sequence right and the system simply works, quietly, for decades.